How to curve text in Figma
In this post I am going to walk you through how to curve text in Figma.
What is Figma
Figma is a popular tool for designers, product managers, writers and developers and helps anyone involved in the design process contribute, give feedback, and make better decisions, faster.
Download Figma
To add a custom font to Figma you first need to download the Desktop app from here. Depending on what kind of platform you use, you can choose between the Desktop App for macOS or Windows.
Curve text in Figma
To create text that follows a curve, we’ll walk through the process step by step. This method works perfectly for adding stylish, curved text to your designs.
We start by switching to Draw Mode from the bottom floating toolbar. It’s represented by a squiggly line. Selecting this mode allows us to draw shapes that we can later add text to.
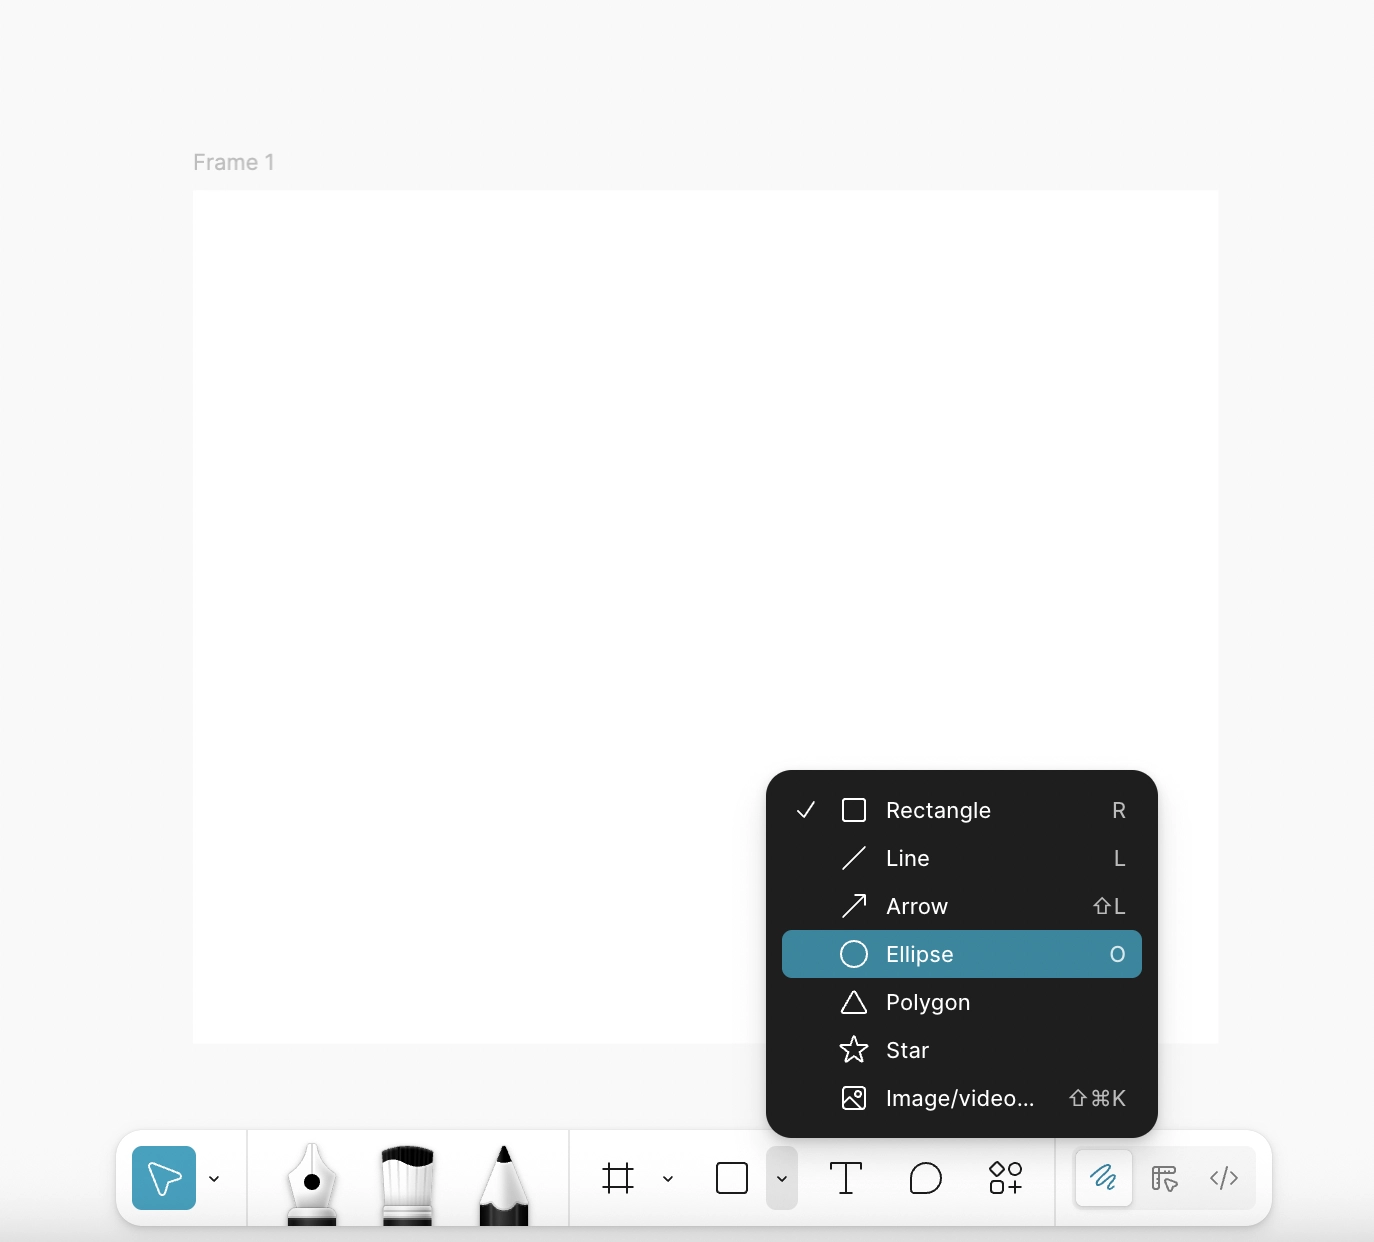
Once in Draw Mode, we click on the Shapes icon and choose Ellipse. We can create an ellipse with a curve that fits our design needs. This ellipse will act as the path for our curved text.
Next, we click on the Text icon and move the cursor over the curve. A small curved icon will appear, showing that the text will follow the shape of the ellipse. Clicking on the curve brings up a text prompt, and we can type our desired text, which will automatically follow the curve.
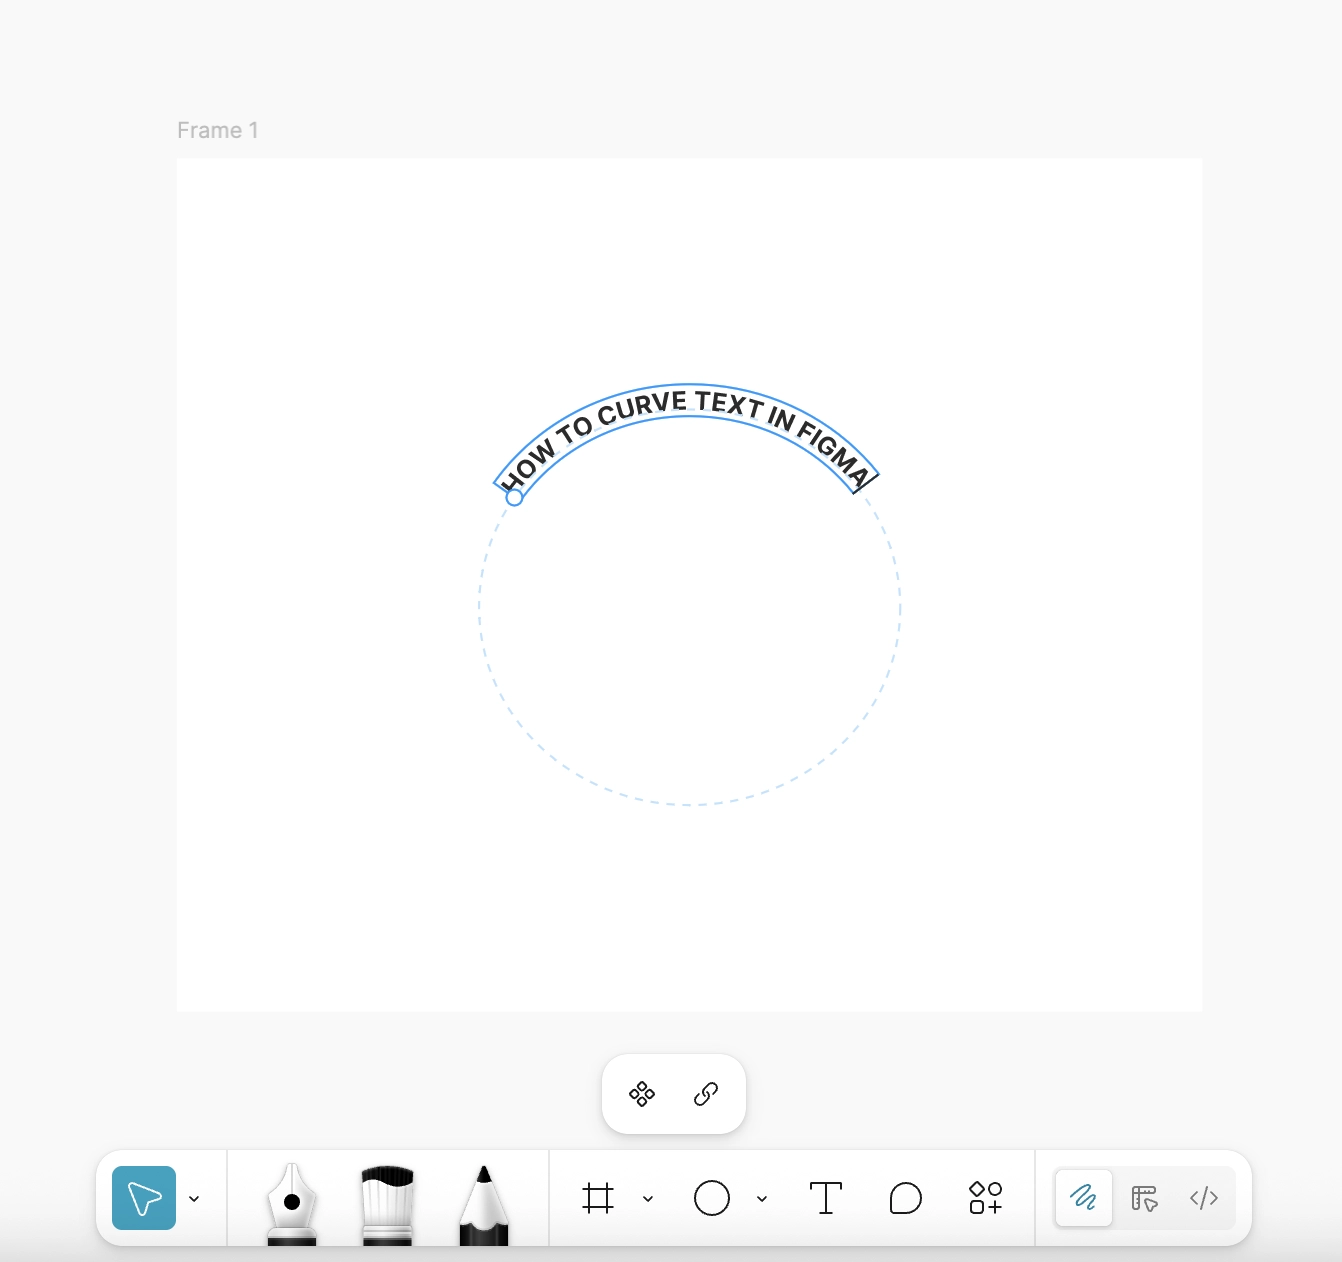
After typing, we can adjust the position and curvature of the text to make it look perfect. This technique gives our designs a polished, professional touch while making curved text easy to create and edit.