How to export in Figma
In this post I am going to walk you through how to export your work from Figma.
What is Figma
Figma is a popular tool for designers, product managers, writers and developers and helps anyone involved in the design process contribute, give feedback, and make better decisions, faster.
Download Figma
To add a custom font to Figma you first need to download the Desktop app from here. Depending on what kind of platform you use, you can choose between the Desktop App for macOS or Windows.
Export in Figma
Figma allows us to export our work in several formats, including PNG, JPEG, SVG, and PDF. For most web use cases, PNG is the recommended format due to its high quality and wide support.
To export a design, we first select the frame we want to export. With the frame selected, we scroll down the right sidebar until we reach the Export section. Here, we can choose the format we want to export our work in, as well as the dimensions by selecting 1x, 2x, or other options depending on our needs.
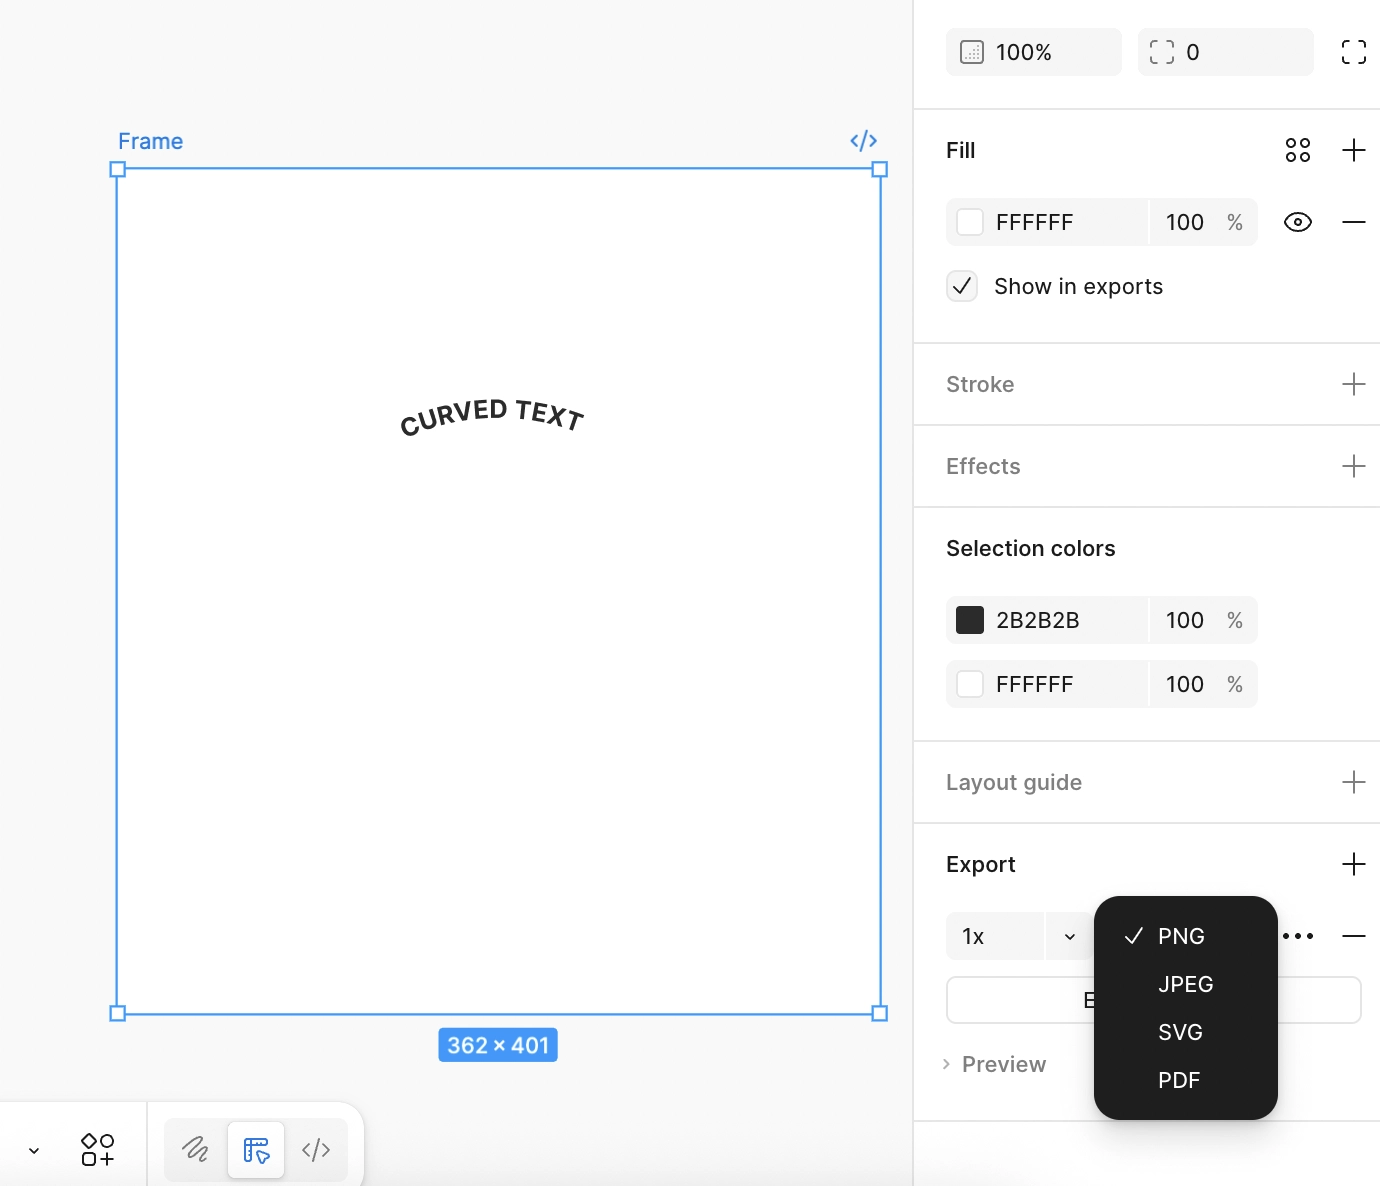
Once everything is set, we simply click the Export button, and Figma will download the file directly to our local filesystem. This makes it easy to share or use our designs in other projects while keeping the quality intact.